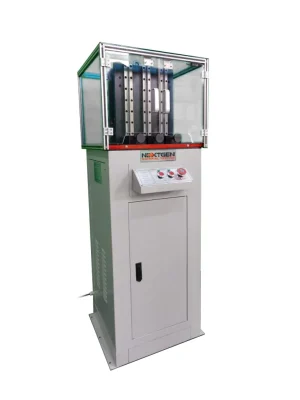
Macro Vickers Hardness Tester – Semi Automatic

$31,518.00

Select an option for member price

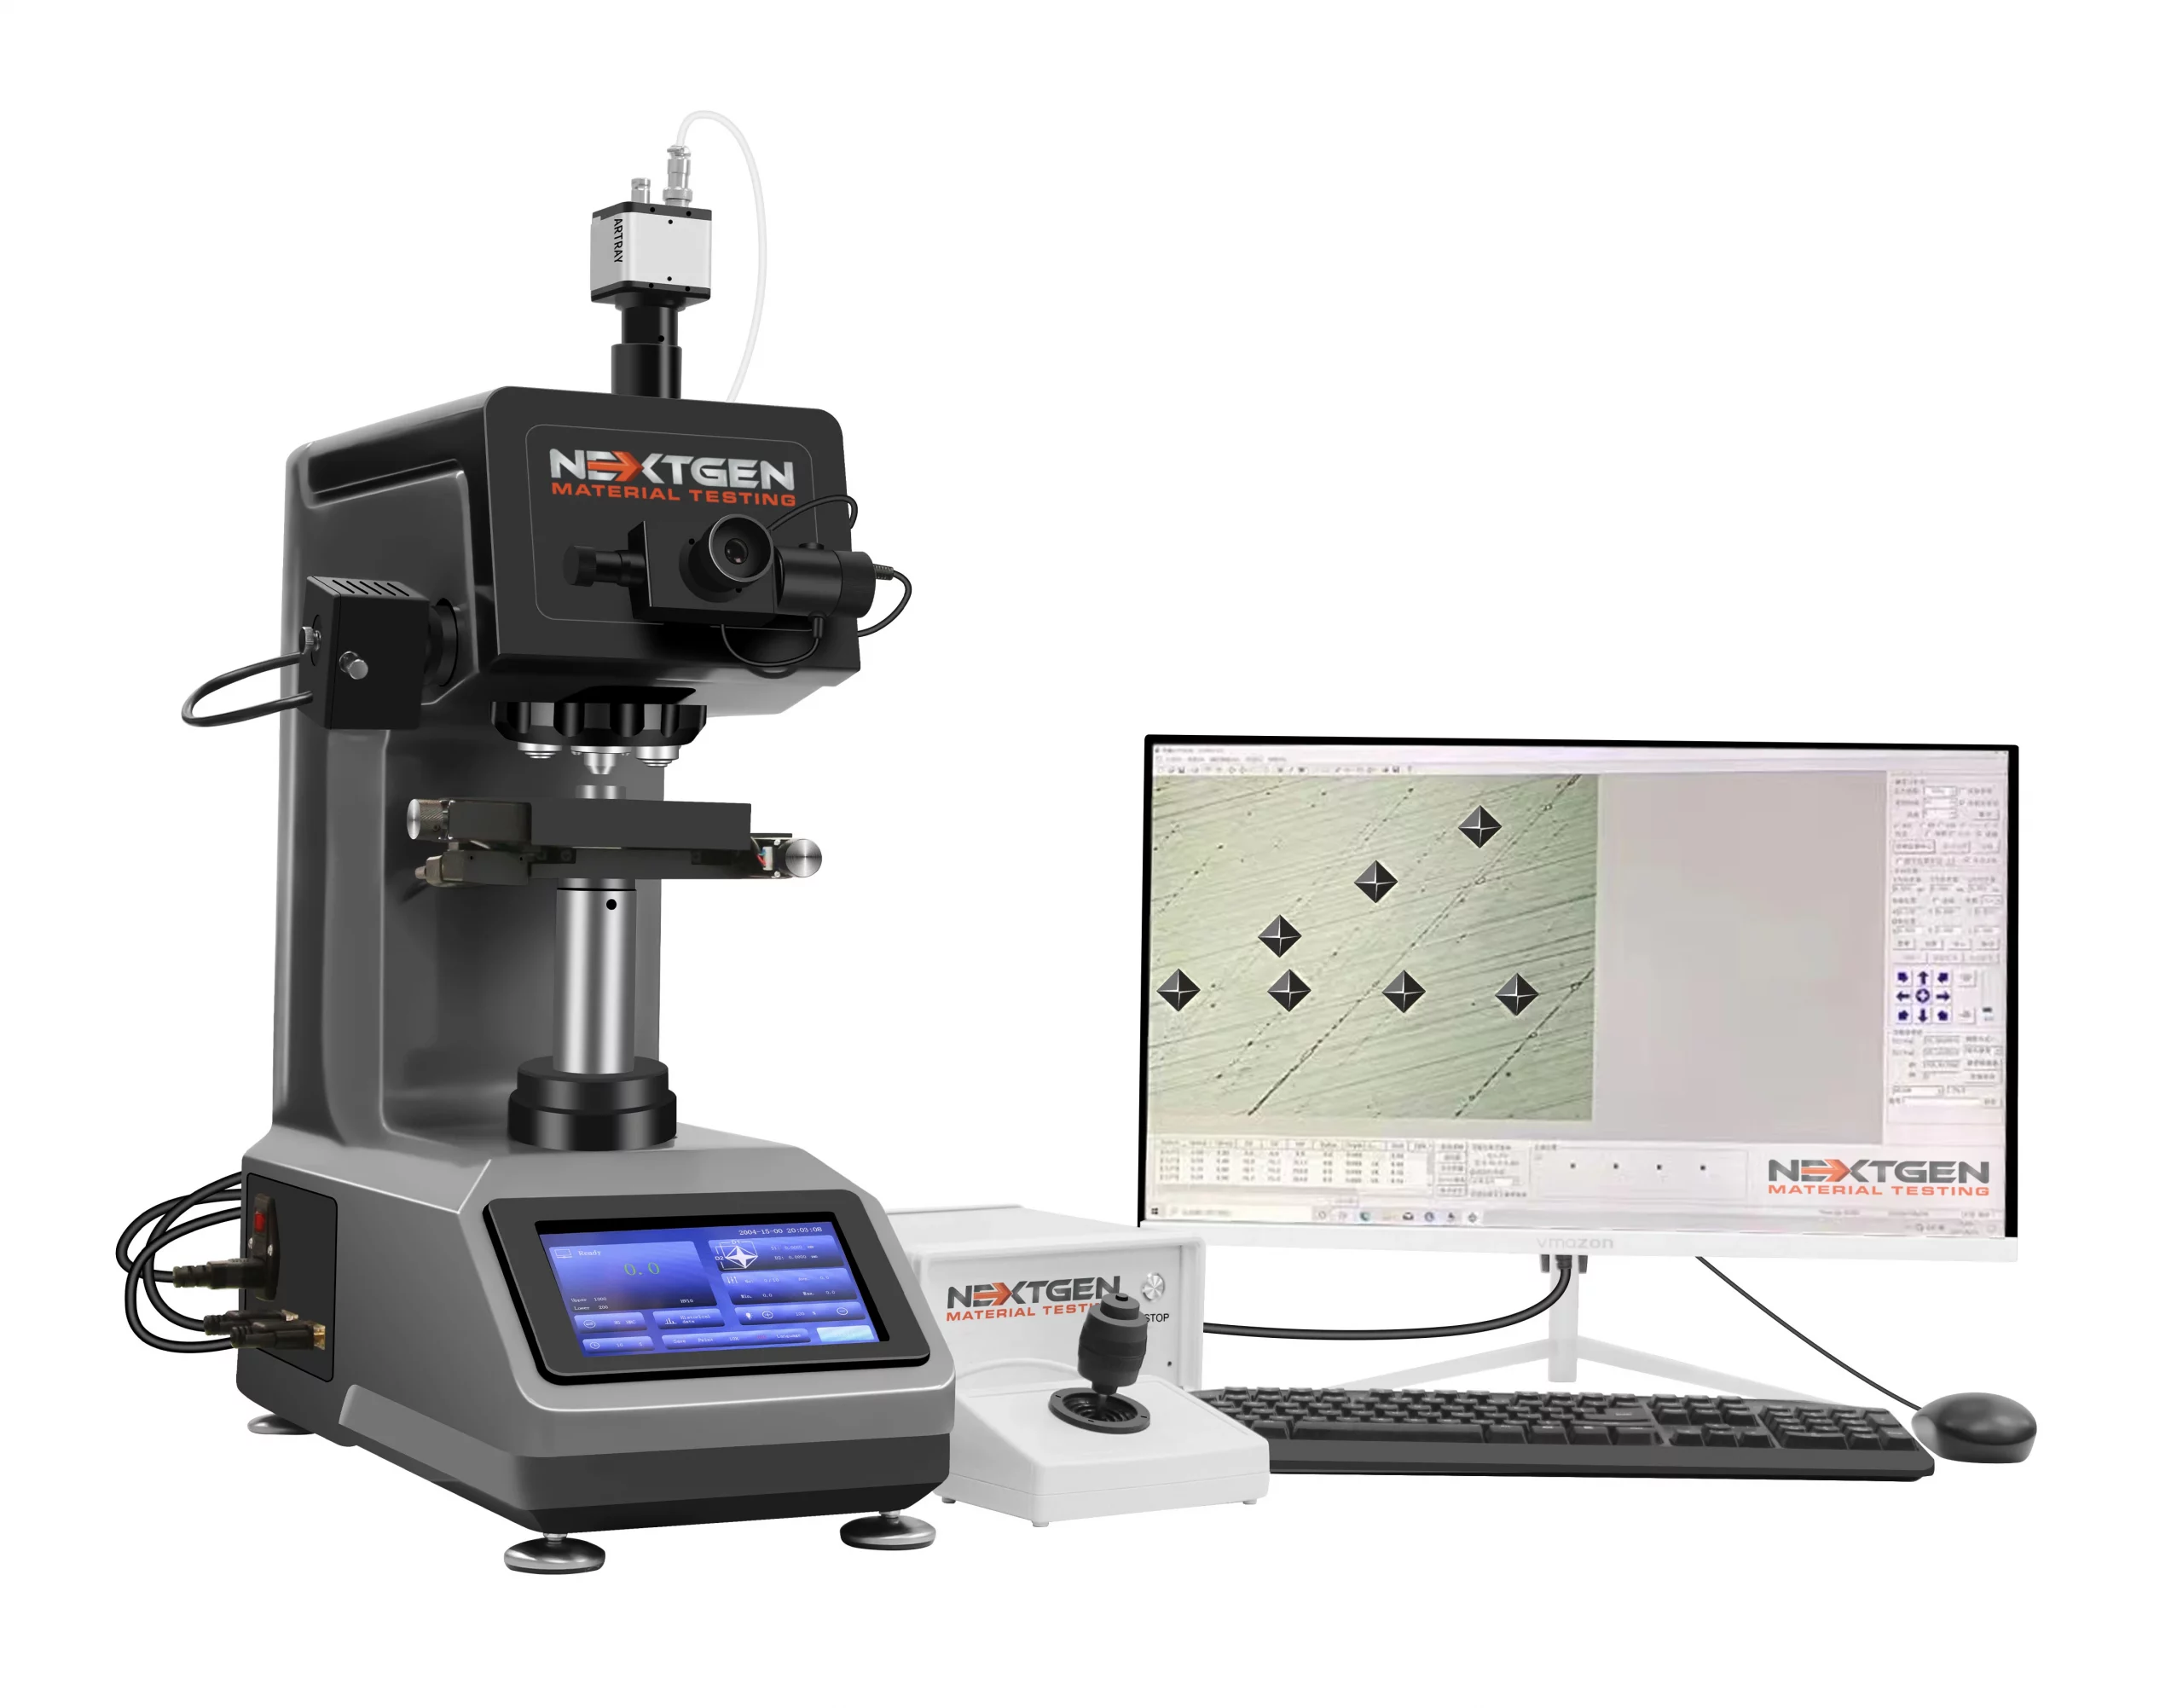
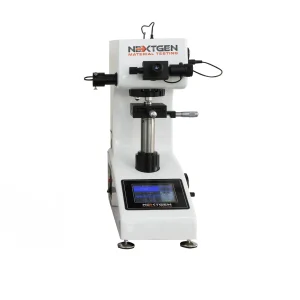
Available in 5/10/30/50 versions. This Macro Vickers system is equipped with a CCD Camera and Analysis software. Micro Vickers and Knoop Hardness tester measurements are performed through a CCD Camera combined with an Analytical Software. The measurements can be made through the eyepiece or it can be done through the analysis software and CCD camera. The advanced accuracy of this Vickers hardness testing system, the Motorized Turret and the Built-in-Printer make this machine the top pick for quality control laboratories.

Apply for Discount
SKU: N/A Category:

Description

NIST

NG-5000 Series

NG-5000 Series Macro Vickers Hardness tester is the most advanced model for accurate measurements and ease of use. The NG5000 – Macro Vickers Hardness tester is equipped with a motorized turret and an optional CCD camera and software to take out all possibilities of human error.

This testers are equipped with a large display and a built in printer. The unit can be connected to a computer with the included USB/RS-232 cord for easy data transfer. The files can be easily exported to either a word or excel format for easy printing.

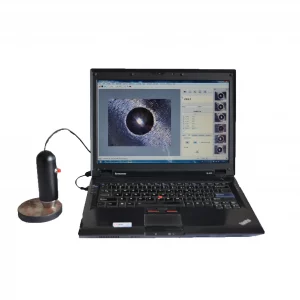
The NG-5000 CCD series – Macro Vickers Hardness Tester with CCD Optical Analysis Software has real time focus and the hardness indentation image can be displayed on the computer through the imaging system. This tester can provide the perfect solution for experimental analysis.

Knoop Hardness Testing System with CCD Camera and Analysis Software

The automated turret allows the interchange of the objective lenses and the indenter for quick and simple analysis. The macro testing force is also fully automated to conduct the load, the dwell time, and the release. The objective lens will automatically returns to its initial focus state – over the indentation – after the unit conducts the test. This allows for a simple measurement of the diagonals of the indentation to determine the Vickers Hardness value.

NG 5/10/30/50 CCD

CCD – Digital Macro Vickers Tester with CCD Optical Analysis Software with 5kgf, 10kgf, 30kgf and 50kgf loads, Motorized Turret and Built-In Printer.

CCD – Digital Macro Vickers Tester with CCD Optical Analysis Software measurements can be made through the eyepiece or it can be done through the analysis software and CCD camera. This Macro Vickers tester allows for the most accurate measuring and result reading options.

Standard Configuration Includes: Vickers Hardness Tester, 10X Digital Micrometer eyepiece, 10X and 20X Objective Lenses, Vickers Diamond indenter, NIST Traceable Vickers Test Block, Motorized Turret, X-Y Testing Stage, 3-Stage Fixtures, Power Cable, Dust Proof Cover, Instruction Manual, Hardness Conversion Table, Certificate of Quality, Warranty Card and Accessory Case, CD with Image Analysis Software, Digital CCD Camera, USB Drive with Software and USB Data cable.

NG 5/10/30/50 CCD model can be upgraded to a Semi- or even a Fully-Automatic Hardness Testing System. The Fully-Automatic system has an XYZ stage. This allows the fully automatic system to offer an automatic focus feature. Therefore, after you position the samples and plot the path the unit will perform automatic test and measurement process of indentation, auto-focusing, measuring, and hardness curve plotting with a click of a button.

Automatic Vickers Hardness Testing System
Motorized XY Stage

The Semi-automatic system only has XY stage movement, therefore requires manual focus work for each of the plotted indentations. Once the manual focus is completed measurement process of indentation, measuring, and hardness curve plotting is completed with a click of a button.

NG 5/10/30/50 DGEN

DGEN – Digital Macro Vickers Hardness Tester with 5kgf, 10kgf, 30kgf and 50kgf loads, Motorized Turret and Built-In Printer.

DGEN – Digital Macro Vickers Hardness Tester The measurements are made through the eyepiece. This system is equipped with an encoder. After using the micrometers to measure the diagonals, the system will transmit your readings from the eyepiece into the system through a single click of a button. The system will generate your hardness reading and display it on the LCD.

Standard Configuration Includes: Vickers Hardness Tester, 10X Digital Micrometer eyepiece, 10X and 20X Objective Lenses, Vickers Diamond indenter, NIST Traceable Vickers Test Block, Motorized Turret, X-Y Testing Stage, 3-Stage Fixtures, Power Cable, Dust Proof Cover, Instruction Manual, Hardness Conversion Table, Certificate of Quality, Warranty Card and Accessory Case.

NG-5DGEN NG10DGEN NG30DGEN NG50DGEN
Testing Forces 300g (1.96N),
500g (4.9N),
1kg (9.8N),
2kg (19.6N),
3kg (29.4N),
5kg (49N)
500g (4.9N),
1kg (9.8N),
2kg (19.6N),
3kg (29.4N),
5kg (49N),
10kg (98N)
1kg (9.8N),
2kg (19.6N),
3kg (29.4N),
5kg (49N),
10kg (98N),
30kg (294N)
1kg (9.8N),
2kg (19.6N),
3kg (29.4N),
5kg (49N),
10kg (98N),
30kg (294N),
50kg (490N)
Vickers Scales HV0.3, HV1, HV2,
HV3, HV5
HV1, HV2,
HV3, HV5,
HV10
HV1, HV2,
HV3, HV5,
HV10, HV20,
HV30
HV1, HV2,
HV5, HV10,
HV20, HV30
HV50
Conversion Conversion of Vickers value to:
HRA, HRC, HRD, HK, HBS, H15N, H30N, H45N, H15T, H30T, H45T
Minimum Measuring Unit 0.01μm
Vickers Value Range HV1 – HV4000
Vickers Value Displayed on the instruments on the LCD screen
Magnification 100X (for observation), 200X (for measurement), and can be extended to 400X
Loading Method Automatically – Load, dwell and unload the testing force
Duration 1-99 seconds
Turret Automatic Motorized Turret – Objective Lenses and Indenter
Maximum Height of Specimen 8.5cm 16cm
Maximum Depth of Specimen 11cm 30cm
Light Source LED Cold light source (no heat generated from light source – service life of light source can reach 100,000 hours)
Stage Dimensions of the X-Y Testing table are 10cmx10cm
Maximum Travel Range 2.5cm x 2.5cm
Moving Resolution Ratio 0.1mm
Data Output Built-in Printer: Hardness Value, the max, and min value, testing time, and average value
Power Source 110V/60Hz/1Ph
Overall Dimensions 40.5cmx29cmx48cm (LxWxH)
Weight 45kg 53cmx22cmx58cm
(LxWxH)
Warranty 12 Months

NG 5/10/30/50 AGEN

AGEN – Analogue Macro Vickers Hardness Tester with 5kgf, 10kgf, 30kgf and 50kgf load options, Motorized Turret and Built-In Printer.

AGEN – Analogue Macro Vickers Hardness Tester measurements are made through the eyepiece. After using the micrometers to measure the diagonals, you must enter your measurements manually into the tester through the numbered keypad to generate your hardness reading on the LCD.

Standard Configuration Includes: Vickers Hardness Tester, 10X Digital Micrometer eyepiece, 10X and 20X Objective Lenses, Vickers Diamond indenter, NIST Traceable Vickers Test Block, Motorized Turret, X-Y Testing Stage, 3-Stage Fixtures, Power Cable, Dust Proof Cover, Instruction Manual, Hardness Conversion Table, Certificate of Quality, Warranty Card and Accessory Case.

NG-5AGEN NG10AGEN NG30AGEN NG50AGEN
Testing Forces 300g (1.96N),
500g (4.9N),
1kg (9.8N),
2kg (19.6N),
3kg (29.4N),
5kg (49N)
500g (4.9N),
1kg (9.8N),
2kg (19.6N),
3kg (29.4N),
5kg (49N),
10kg (98N)
1kg (9.8N),
2kg (19.6N),
3kg (29.4N),
5kg (49N),
10kg (98N),
30kg (294N)
1kg (9.8N),
2kg (19.6N),
3kg (29.4N),
5kg (49N),
10kg (98N),
30kg (294N),
50kg (490N)
Vickers Scales HV0.3, HV1, HV2,
HV3, HV5
HV1, HV2,
HV3, HV5,
HV10
HV1, HV2,
HV3, HV5,
HV10, HV20,
HV30
HV1, HV2,
HV5, HV10,
HV20, HV30
HV50
Conversion Conversion of Vickers value to:
HRA, HRC, HRD, HK, HBS, H15N, H30N, H45N, H15T, H30T, H45T
Minimum Measuring Unit 0.01μm
Vickers Value Range HV1 – HV4000
Vickers Value Displayed on the instruments on the LCD screen
Magnification 100X (for observation), 200X (for measurement), and can be extended to 400X
Loading Method Automatically – Load, dwell and unload the testing force
Duration 1-99 seconds
Turret Automatic Motorized Turret – Objective Lenses and Indenter
Maximum Height of Specimen 8.5cm 16cm
Maximum Depth of Specimen 11cm 30cm
Light Source LED Cold light source (no heat generated from light source – service life of light source can reach 100,000 hours)
Stage Dimensions of the X-Y Testing table are 10cmx10cm
Maximum Travel Range 2.5cm x 2.5cm
Moving Resolution Ratio 0.1mm
Data Output Built-in Printer: Hardness Value, the max, and min value, testing time, and average value
Power Source 110V/60Hz/1Ph
Overall Dimensions 40.5cmx29cmx48cm (LxWxH)
Weight 45kg 53cmx22cmx58cm
(LxWxH)
Warranty 12 Months
NG-5CCD NG10CCD NG30CCD NG50CCD
Testing Forces 300g (1.96N), 500g (4.9N), 1kg (9.8N), 2kg (19.6N), 3kg (29.4N), 5kg (49N) 500g (4.9N), 1kg (9.8N), 2kg (19.6N), 3kg (29.4N), 5kg (49N), 10kg (98N) 1kg (9.8N), 2kg (19.6N), 3kg (29.4N), 5kg (49N), 10kg (98N), 30kg (294N) 1kg (9.8N), 2kg (19.6N), 3kg (29.4N), 5kg (49N), 10kg (98N), 30kg (294N), 50kg (490N)
Vickers Scales HV0.3, HV1, HV2, HV3, HV5 HV1, HV2, HV3, HV5, HV10 HV1, HV2, HV3, HV5, HV10, HV20, HV30 HV1, HV2, HV5, HV10, HV20, HV30 HV50
Conversion Conversion of Vickers value to: HRA, HRC, HRD, HK, HBS, H15N, H30N, H45N, H15T, H30T, H45T
Minimum Measuring Unit 0.01μm
Vickers Value Range HV1 - HV4000
Vickers Value Displayed on the instruments on the LCD screen
Magnification 100X (for observation), 200X (for measurement), and can be extended to 400X
Loading Method Automatically - Load, dwell and unload the testing force
Duration 1-99 seconds
Turret Automatic Motorized Turret - Objective Lenses and Indenter
Maximum Height of Specimen 8.5cm 16cm
Maximum Depth of Specimen 11cm 30cm
Light Source LED Cold light source (no heat generated from light source - service life of light source can reach 100,000 hours)
Stage Dimensions of the X-Y Testing table are 10cmx10cm Maximum Travel Range 2.5cm x 2.5cm Moving Resolution Ratio 0.1mm
Data Output Built-in Printer: Hardness Value, the max, and min value, testing time, and average value
Power Source 110V/60Hz/1Ph
Overall Dimensions (LxWxH) 15.94x11.41x18.9" 40.5x29x48 cm 20.87x8.67x22.83" 53x22x58 cm
Weight 99lbs / 45kg
Warranty 12 Months